My parents were Ray and Kay. As their first born, they combined 'Kay' and 'Ray' to get 'Kreigh' ('I' before 'E', except after 'C', as in 'neighbor' or 'Kreigh' {usually 'weigh'});
they borrowed the Welsh spelling from their artist friend, Kreigh Collins,
who I had the great pleasure of knowing when I was young.
Think of "CRAYon", "CRAYfish", or 'KRAY' (or 'Cray', like the computer) to pronounce my (first) name.
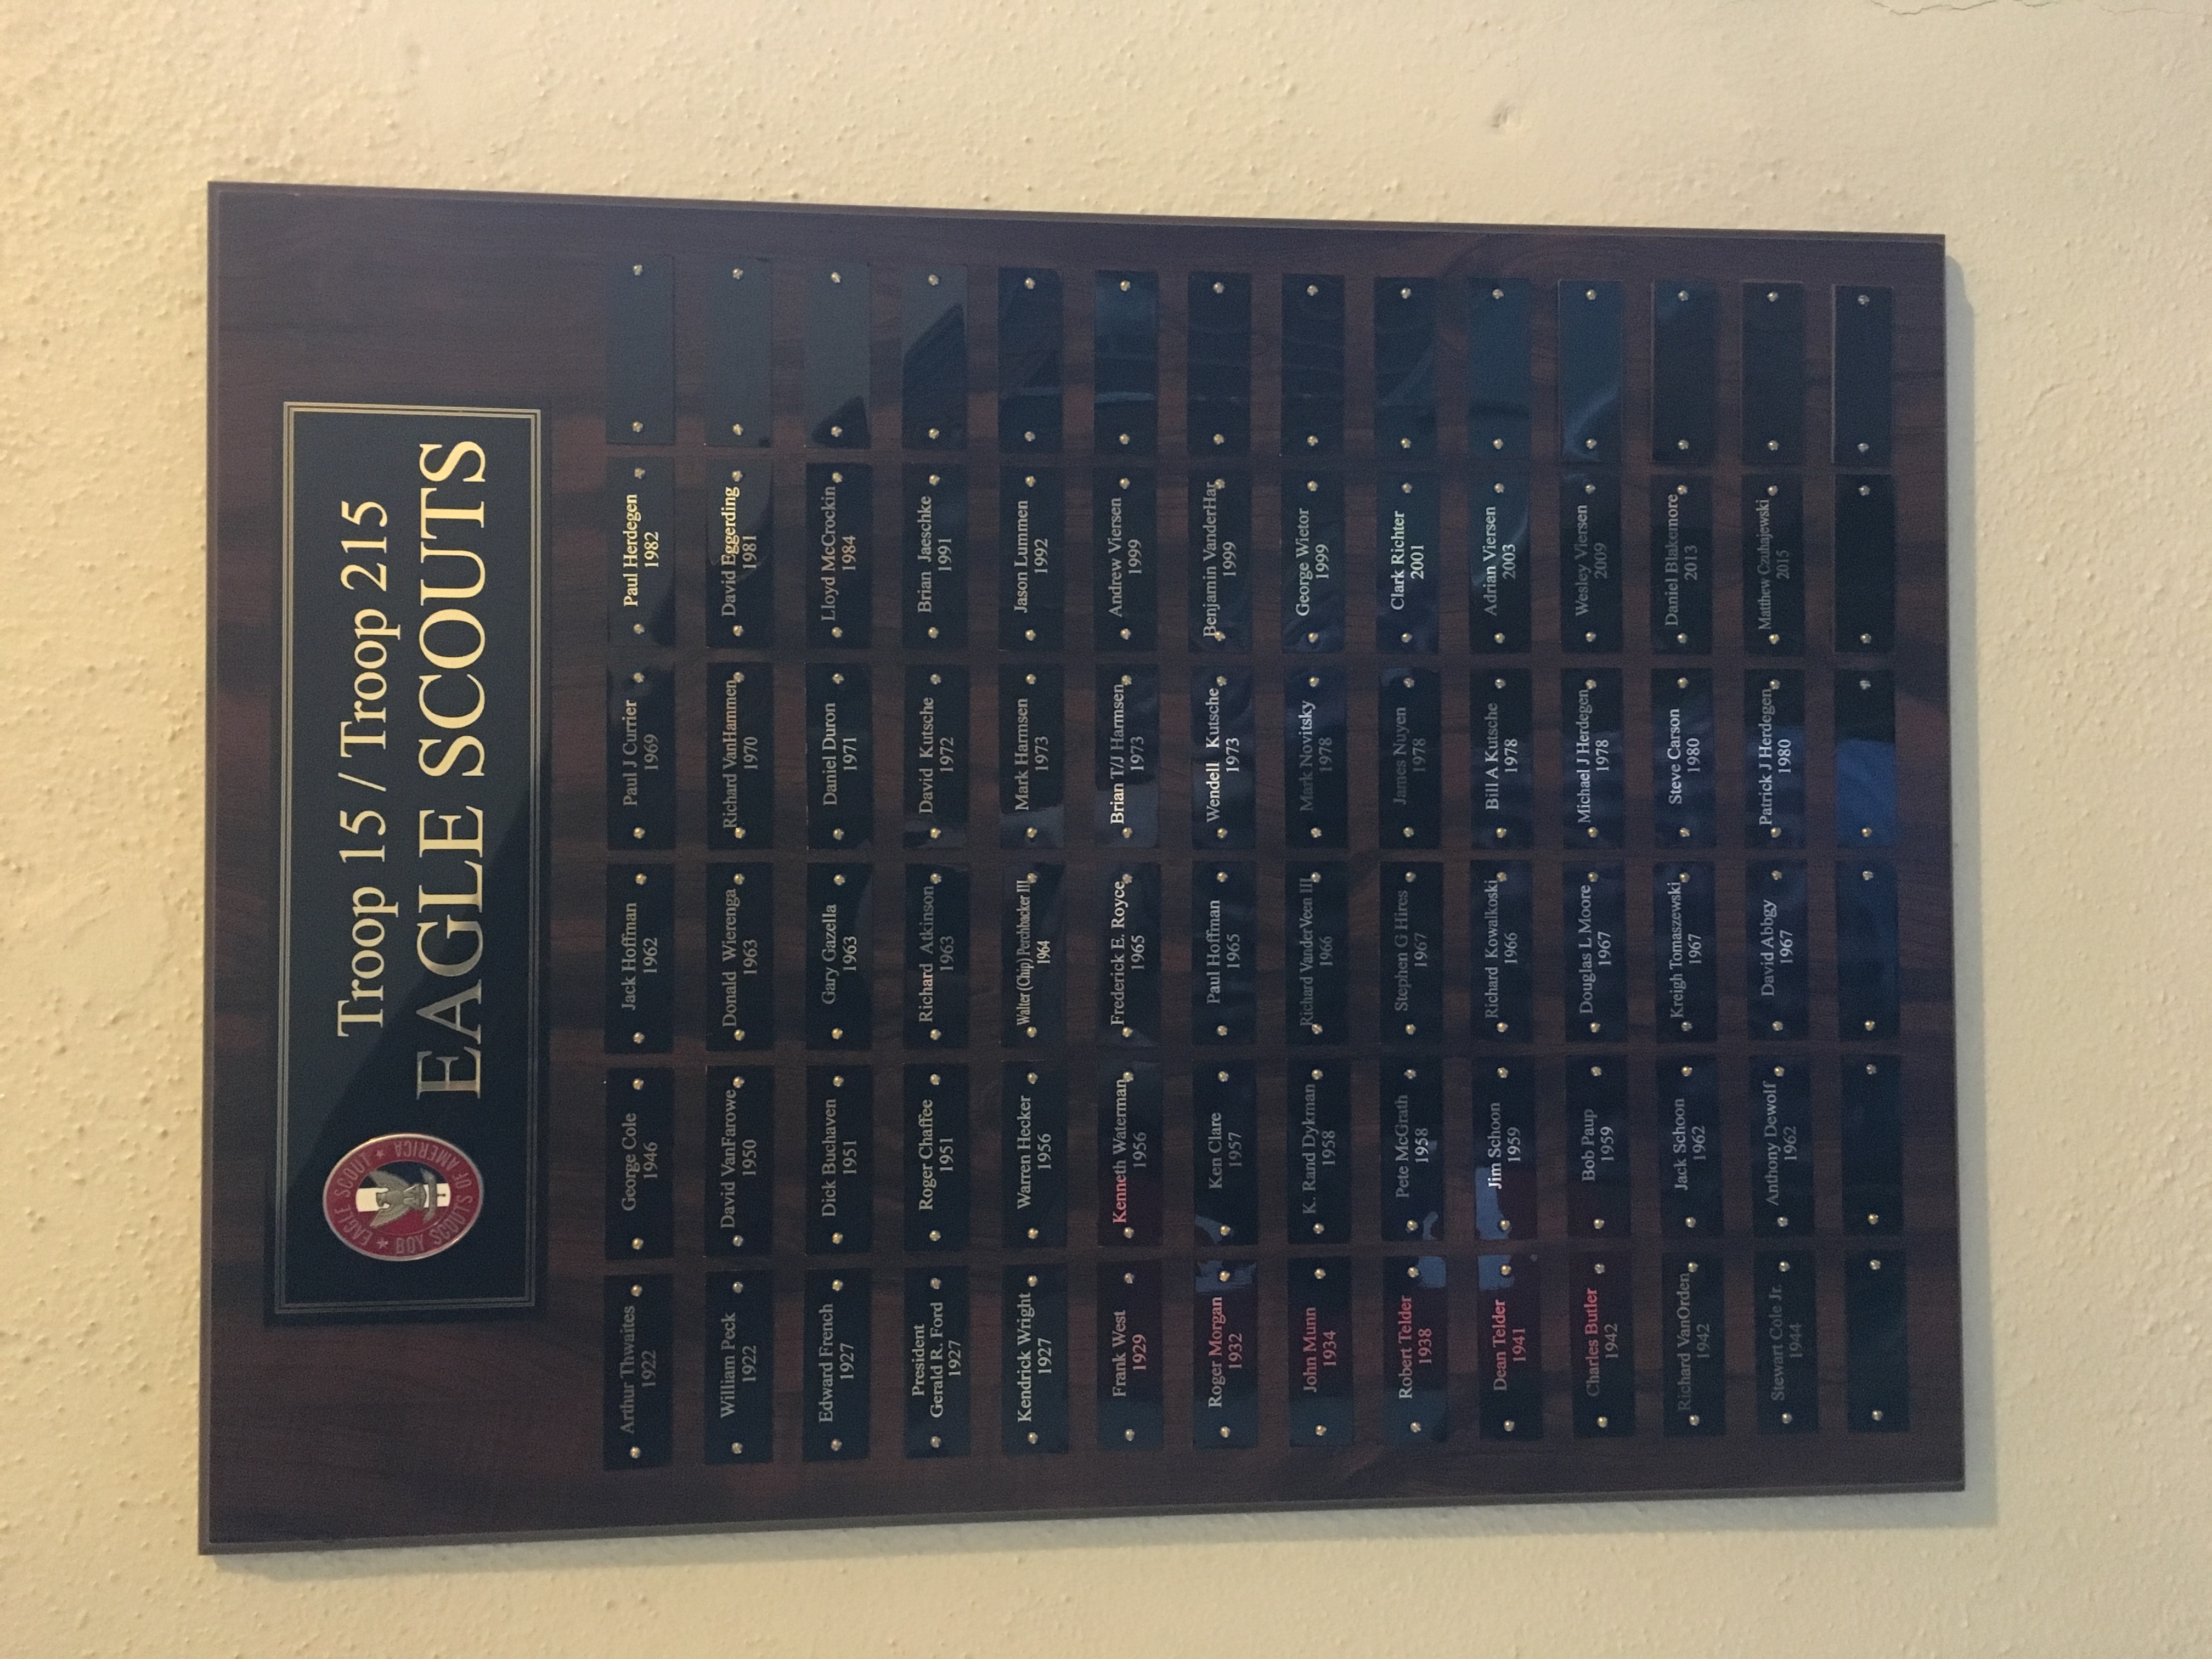
I was a member of Troop 215, which also produced Jerry Ford and Roger Chaffee, and all three of us attained the rank of Eagle.
Our troop had a monthly newspaper called the TroopScoop.
I wrote most of the software for The Opalias System 68, a state of the art business computer system from 1979.
My Junior Achievement company ran a radio show: The Annual Report from the DRAT Junior Achievement Radio Company (from 1970).
I hold Amateur Extra Class Ham Radio license KE8EAL in support of my Skywarn activities.
I started collecting rocks and minerals as a pebble pup and honestly can not remember when I started (my Mom says I was fascinated with rocks since I could crawl). When I was 7, I took lapidary classes at the Grand Rapids Public Museum; they were jointly sponsored by the Grand Rapids Rock and Mineral Association (which sadly no longer exists, but there are other local clubs -- and I finally joined one). I exhibited at the 'old' Museum for many years with the club, and had my own window in the annual April show for many years. Forty something years later I still collect, and the Grand Rapids Public Museum invited me back for a one day, one table, exhibit of some of my collection as the 'Rocks and Minerals' part of an on-going 'Magnificant Obsessions, Collecting A to Z' series of exhibits. Nothing spectacular, but if you were in Grand Rapids on December 12, 1998, I hope you were able to stop by the new Museum to see at least a couple fine specimens (if not, I hope to have more pictures posted soon, but a few are available). I used it to boost rockhounding.
I also still cut. I have a Beacon Star 6" trim saw. I have a 5 wheel (3
grind, 1 sand - usually 320, 600, 1000, 1 polish {or sand} - usually
leather lap and cerium oxide) Beacon Star grinder. I also have a Gemlap that
I use with a felt lap for polishing, and for sphere cutting (made my own
cutter dies, by drilling and tapping pipe plugs, and use carbo). I also
have several tumblers, which has been most of my recent activity due to
time constraints. I've cabbed a bit of just about anything over the
years and given most of it away (just a cabbed stone). I took my grinder
to my kid's school one year for a day and polished a Petoskey Stone for
each kid, in the classroom, as they watched. I've never had so much fun. Parts of my collection still make it into classrooms annually (20 some years later); teaching kids about rocks/minerals/geology never stops being a thrill.
I've cut several pounds of opal over the years. I worked a couple years
for a jewelry store as a stonecutter (second job and used my own
equipment at home with their rough, great deal!) and cut replacement
opals for rings, and opals and other stuff for their designers to work
with.
Let me offer you a few tricks I learned about opals.
Opal is soft. It also tends to craze or scorch if it gets too hot. Lots
of water feed and don't bear down hard on the wheel. I seldom used a
coarse wheel for grinding, starting about half way thru the usual
sequence (of 3 or 5 grits) and making sure the finest grinding
wheel left a smooth surface by lightening up on the pressure on it a
bit towards the end. Dress your wheels.
For sanding I preferred to use worn disks as new ones cut too fast,
especially those below 600 grade. I also preferred to sand wet, starting with a
dry disk and using a spray bottle to moisten it up. I concentrated my sanding
on the finer grades, frequently using only 600 and 1000 (or only 600
when very well worn; it made a good finish, which was not unusual).
I found a hard felt wheel better than leather for polishing opals, and usually
used cerium oxide in a watery mixture, which I hand rubbed into the felt
before starting the polisher (horizontal lap); I kept the wheel damp at all times with a water spray bottle. Most of the polish
actually comes up in the finest sanding with opals (and many other soft
stones), so don't overdo the polishing. Don't press any harder than
necessary to start feeling the polishing tugs from the lap. Don't
let the stone overheat -- I kept a small container with a bit of polish and a lot of water, and stirred the stone in it every few seconds.
A lot of the opals I cut were small. Ordinary dop sticks get to be a
pain at those sizes. Take a number 6 (8, or 10) finish nail and smooth off/polish
up the head on your find grinding wheel. A small drop of superglue on
the polished surface makes a great opal dop stick. Hold it on the rock
until it hardens. Cut the stone. To remove, hold the stone between thumb
and finger firmly, with the nail end sticking out (but it should be
lightly supported by your finger/thumb that have real pressure on the
stone). Rap the nail sharply on the metal edge of your grinder and it
will pop off. Occasionally some glue remains on the stone and you need
to grind, or trim it of with a knife, to get a clean back. I had a few
rare occasions where the back of the stone chipped. The biggest
advantage was speed.
Opals are my favorite cutting stone. Now if I can just find an endless
supply of good rough for next to nothing... ; )
To support Rockhounding I try to make 5 morning, plus 5 afternoon, presentations to local schools each year. First come, first served. I reserve a week of vacation for representing my Rock Club. My preference is to set up in the school library; I insist on presenting to at least two different classes (or a Science Olympiad team) and would like to take an hour with each.
I have a traveling collection packed in four large plastic tubs for easy transport. I have two prepared presentations, one on the wide scope of Rockhounding and one on Mineral Identification, for older classes. For younger classes I do an unscripted presentation that connects my specimens to things people use everyday, and how they connect to the Earth Sciences.
Everything humans use is either grown or mined, and the plants at the bottom of the food chain do their own mining. I try to get students excited about what comes out of the Earth.
I take questions. I identify unknown specimens students have brought in (I love it when teachers have the students make egg carton collections). I leave some time for students to come up and handle the specimens. I have each student take a labeled specimen from a box as they leave. I give the teacher an opportunity to photocopy a folder full of Earth Science handouts I have collected over the years.
I've been doing this for more than 20 years, and I still can't decide if the students or I am having more fun, so I think I am doing something right.
Successful lapidary has two requirements; a polished surface, and a
regular shape.
Shape is typically produced by grinding, which is simply scratching with
finer and finer abrasives until the desired figure is produced. The
natural shape produced when rubbing two relatively flat surfaces
together is spherical. It may be a large sphere, but this is the way the
universe works. Making a flat surface requires controlled effort.
Polishing also removes some material, but it is primarily a flow
phenomena at a molecular level; very fine scratches still appear to the size of the polishing 'grit', and if less than a wavelength of light they mostly disappear to sight. However, true polishing is
different from grinding and is really a seperate issue. BTW, 1000 grit and
polishing power are not even on the same order of size, with a
difference of more than 100X.
Lapidary typically works on size at the millimeter scale, and shape is
probably 1/100 of this to be considered regular and ready for polishing.
Telescope makers have been taking advantage of the natural tendency to
produce spherical surfaces to make their telescope mirrors for about 400
years now. They typically measure in millionths of an inch and use the
wavelength of light as a standard. Telescope makers and opticians have
also developed technique, at the same level of measurement, to make the
truely flat surfaces needed in telescopes and other optical devices.
Rocks and glass are very simular substances physically. Those of us who
do lapidary can learn a lot from astronomers because they have taken our
skill to a significantly higher level of perfection.
I recommend you find a set of 'Amateur Telescope Making', a three volume
set ('Amateur Telescope Making', 'Amateur Telescope Making Advanced',
'Amateur Telescope Making, Book Three') published by Scientific
American, edited by Albert Ingalls, and read about polishing and how to
make optical flats. One of the chapters even discusses using obsidian
instead of glass for a telescope morror and the practical results
(good). Try used book stores or your local library (they may need to get
it via an inter-library loan).
I've never used a vibratory lap. From discussions I suspect they are
more trouble than they are worth to get running correctly because they
are fighting nature unattended. The biggest flat rock I've ever polished
was about 6 inches. and I did it by hand on an 8 inch flat, rotating, horizontal,
lap (just over 3 inches usable surface - spindle nut in center).
Anyway, take my ramblings with a grain of salt (halite - grin). I hope
they help.
I am indebted to Henry E. Paul, writing for Scientific American, who researched and originally published many of the hard numbers in this discussion that started me on the research I am reporting. I will attempt to quantify the grinding and polishing of rocks using a tumbler, but the method can easily be extended to making 'cabs'.
Grinding is the repeated scratching of a material (rock) with abrasives, producing finer and finer scratches, until the surface is properly shaped and prepared for polishing. Details on this later.
Polishing is the alteration of a surface using a molecular 'butter' effect to bring it to a high degree of smoothness. Again, details later.
As we tumble our rock we first need to use a coarse (80) grit to remove surface irregularities. Bumps that stick out of the rock are convex surfaces, and dimples that go in are concave surfaces. Concave surfaces are not going to be rubbed against during the tumbling process and will not be 'worked'. Coarse grit needs to run long enough to remove surface irregularities, and to bring the entire surface of the rock to a convex surface. Failure to complete this last step leaves concave surfaces that simply don't come to a good polish. As you will shortly see, the remaining steps are not going to remove a significant amount of material that would be needed to correct deficiencies in coarse grinding.
For best results a tumbling batch is typically composed of a quantity of rocks, each of roughly the same size and hardness as any other. Into this batch we are going to introduce a couple of control rocks of the same type or hardness as the rest of the batch. What we are going to control and monitor is the size of these rocks.
From your rough select a larger piece and cut it into a block using your trim saw. A size of 1/2 x 3/4 x 1 inch works, as does one of 3/8 x 5/8 x 7/8 inch. You need at least two per batch and a few more give better accuracy in measurements. You do need to be able to distinguish between the different control rocks by size or appearance throughout the process.
Using a 320 wheel smooth the faces of your blocks and try to make them parallel. Your goal is to make smooth faces that can be used to reliably measure the thickness of each control rock on each of the three axis. The three dimensions are different so you can distinguish them to get three measurements to average from each control rock. When we measure we are going to make each measurement three times and average the results. A micrometer is recommended since we will be working with very small fractions of an inch.
Measure the height, width, and depth of each control rock and record the information. Put the control rocks into the batch and start tumbling with coarse grit.
Once (or twice) each day during the entire tumbling run we are going to stop the tumbler, open the barrel, fish out, and measure each of the control rocks. Measure the height, width, and depth of each control rock and record the information. Put the rocks back in, close it up, and resume tumbling.
Because of the rounding that will occur on each control rock, measurements should be made in the center of each face.
Disturb the muck in the barrel as little as possible as we want to approach a normal tumbling run. I wipe each rock into the barrel with my fingers before rinsing it off (to prevent grit from reaching the micrometer faces). Because some grit will be lost with each opening, you should run a second barrel as a control, and only measure its stones during grit changes. The difference is usually minor, but must be accounted for if you need accurate results.
After each set of measurements you want to compute the average depth of surface that has been removed since the previous set. Subtract each (averaged) reading (height, width, depth, for each control rock) from the previous days. Since you measured a thickness that has two surfaces, cut your difference number in half to find how much has been removed from a surface.
When we're done with the work of coarse grinding, identified because the surface irregularities are gone and concave surfaces have been eliminated, we can proceed to the next finer grit grade. Clean the batch and barrel well, and of course, make another set of measurements. The records and daily inspections made during the coarse grinding will allow you to better estimate how much coarse grinding will be required for future batches.
Now we're going to put our measurement skills to work. 80 grit is about .0075 inch diameter and has done all our work so far. Our next grit is 120, and is about .005 inch in diameter. Based on both experience and literature, you will need to remove between .020 and .030 inch from each surface using 120 grit to completely remove the scratches from the 80 grit. Removal of more is time wasted. If removal of more is required to eliminate 80 scratches you probably did not spend enough time in the coarse grit and might be better off to return to it for another day. Your daily measurements with the control stones let you know when to move to the next stage.
In a like manner, 220 grit is about .0025 diameter, and you need to remove between .010 and .015 inch to remove the scratches from 120 grit. 600 grit is about .001, and you need to remove between .003 and .005 inch to remove the scratches from 220 grit.
As you can see, we've taken off between .033 - .050 inch from each surface with all the grits after the coarse one, and each is going to run roughly the same length of time as the previous one. If you don't get your rocks smooth and shaped in coarse grinding, it takes a long time to make up for it in the later stages - and you usually don't, resulting in less than quality finished stones. Irregularities larger than this total amount after coarse grinding will not be removed.
Aluminum Oxide 303-1/2 grit (a common pre-polish) is about .0004 diameter, and you need to remove between .001 and .0015 inch to remove the scratches from 600 grit. Aluminum Oxide 305 grit (another common pre-polish) is about .0002 diameter, and you need to remove between .0004 and .0006 inch to remove the scratches from Aluminum Oxide 303-1/2 grit.
When you are ready to move to polishing, make sure everything is extra clean. One grain of grit can ruin a batch. I recommend running an hour with just water (or water and soap) between each grit after cleaning the batch, and doing it twice before moving to polish.
While there is some 'scratching' effect in polishing, most of the work occurs from a smearing of the surface at a molecular level. High places are planed off and some of the material is deposited in adjacent low areas on the surface (the rest is lost as very fine sludge). Water, heat (at the molecular level), and the polishing compound all appear important to the polishing process. The deposited material does not match the crystal structure of the parent body and is preferentially attacked by acid etching. The butter effect of polishing can be demonstrated by removal of the smeared material to re-expose the original pattern of scratches. The thin amorphous layer that forms to make a true smooth surface is known as a Bielby Layer.
Polishes typically have a grain size a couple orders of magnitude smaller than the finest grit used and typically remove less than .0015 inch (not all material planed off is redeposited, but the high spots that you are measuring are lowered during polishing). while filling in the scratch grooves.
Get a number of squares of plate glass about 2 inches square. Put one on a flat surface, sprinkle on some 80 grit and a few drops of water, and use a second square to rub its surface until both squares have a patch of 'frosted' glass in their middle. Plate glass (or better yet, pyrex) is essentially the same as obsidian or agate when worked.
Repeat the process with each grade of grit using a new set of plate glass squares. Use one untouched square to represent a polished surface. Take one of each pair of squares and label it with the grit used. This lets you identify what the scratches from each grit look like.
Take the other 80 grit square and grind it with briefly with 120 grit, using the other 120 grit plate. This will turn the 80 grit plate glass square into a surface with a mixture of 80 and 120 grit scratches. Reuse the 120 plate with 220 grit and the 220 plate, and so on thru the various grits. Use a new plate glass square to represent a polished surface for the last stage.
You now have plates showing both what a completely worked surface should look like after each grit as well as one that is not completely ground to the next grade of grit. These can be used for comparison against the control stones with a microscope to verify if a grit has been completed or not.
The most important stage of tumbling is the coarse grit -- it does the most work and forms the shape. Each successive grit must remove a certain, decreasing, amount of material to completely eliminate scratches caused by the previous grit grade. The amount of material being removed can be quantified for various types/hardnesses of rocks so that excess or inadequate time is not spent on any given grade, producing more uniform and desirable results in the shortest possible time. After calibration it is possible to reproducably produce uniform polished stones of a specified size.
Much of this work was done more than 15 years ago and the detail records have been lost, but I have dearly held on to the basic facts and believe all numbers to be correct. Some suppliers of grit may have some size variance from what is specified, but the orders of magnitude should be similar; this may cause your results to vary from what I found. I have also seen variance between different tumblers and think that size of barrel, speed of rotation, and barrel lining composition are the remaining significant factors.
Copyright (c) 2000, 2004 by Kreigh Tomaszewski. All rights reserved.
Permission is granted to Hale Sweeny for publication of the 2000 version in the Lapidary Digest and archives. Subscribers may copy for personal use only. Republication for commercial or non-profit use requires permission of the author.
When documentation and reality disagree, one of them must be amended.
When software becomes ill behaved, tell the vendor; let them decide which needs fixing since it is their code and documentation (do not be afraid to give your opinion). If you do not tell them about the problem then they will not fix it, and you have to live with it.
Personal:
I've lost track of an old friend, Karen Elizabeth Short, from East Grand Rapids High School ('69). If you can help me reconnect I would appreciate hearng from you.
You can return to The Tomaszewski Family Public Home Page, or see some of my collection, or check out my collection of links for rockhounds, or read about Labeling and Cataloging Rocks, Minerals, and Fossils, or review some field trip reports, or learn how to make your own lapidary equipment, or send me email
Kreigh? Where did that come from?
Boy Scouts
Early Computers
Junior Achievement
Ham Radio
How I became a Rockhound
Cutting Opals
Cutting Spheres
Drilling Holes in Stones
Make Your Own Rock Tumbler
School Presentations
Flat Lapping
Some suggestions on how to stop SPAMM and other undesired junk Emails.
My Name is written on Stardust (click on T and search for Kreigh)
A DECUS presentation on RSX System Tuning
Calibrated Grinding and Polishing
Coarse Grit for Shaping the Stone
Calibrating the Process
Daily Measurements
Progressing Thru the Grits
Moving to Polish
A Control
Summary
Caveats
Copyright
Kreigh's Conclusion